When to create a wallet manually
Use the manual flow when:
- The wallet has no auto-sync available (bank accounts, credit cards, hardware wallets, cold storage)
- You want full control over what gets recorded
- You're tracking a small or low-frequency wallet where automation isn't worth setting up
- You're testing or experimenting
For Bitcoin wallets at supported providers (Blink, eventually Strike, Coinbase, etc.), use Connecting Your Bitcoin Wallet instead. Auto-sync saves time.
How to create one
- Click Wallets in the left sidebar
- Click New Wallet at the top right
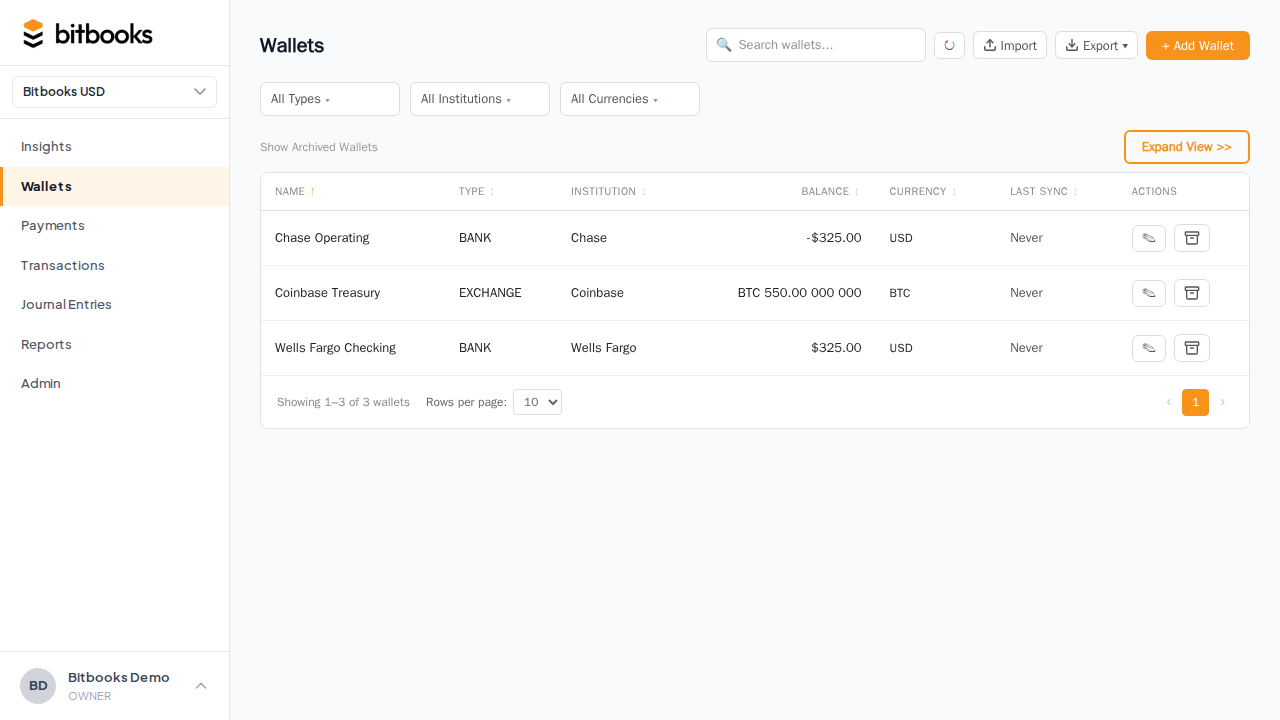
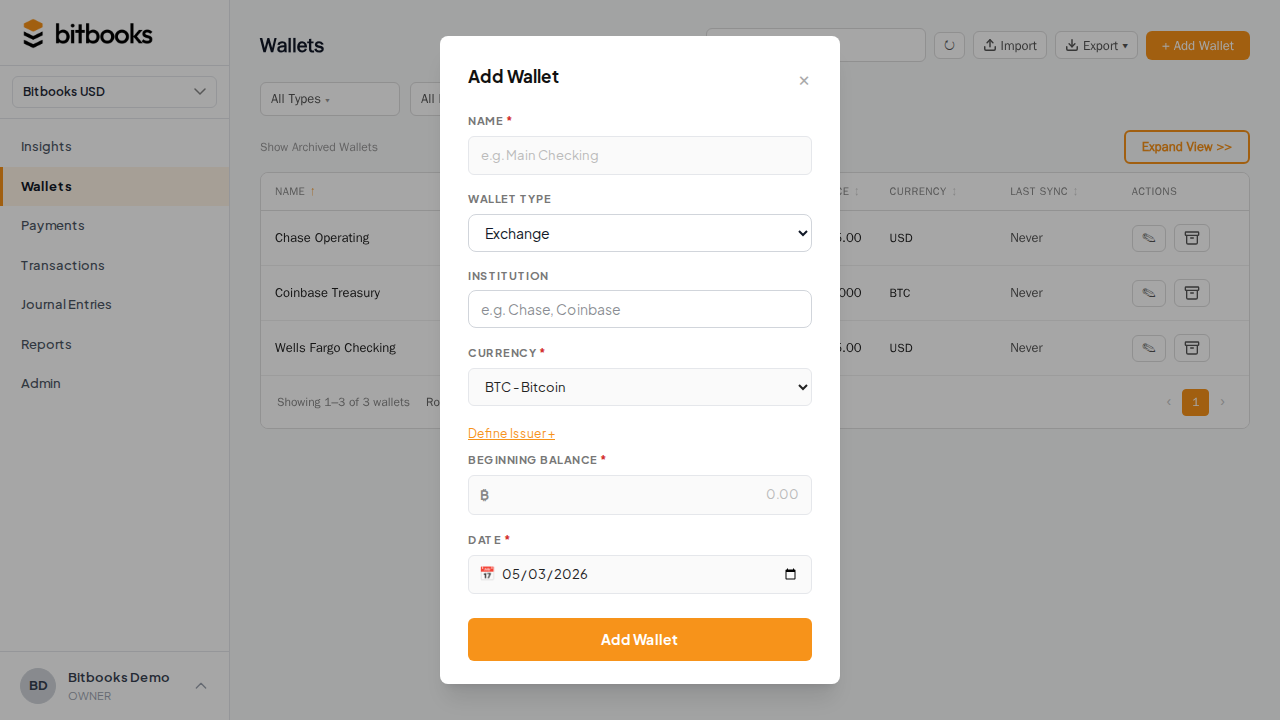
A modal opens with the creation form.
The fields
Name (required)
What you call this wallet. Be specific. Bad: "Wallet 1." Good: "Trezor Cold Storage" or "Chase Business Checking."
The name must be unique within your organization.
Wallet type (required)
Pick one:
- EXCHANGE. A custodial exchange account
- HARDWARE. A self-custody hardware wallet
- SOFTWARE. A self-custody software wallet (or xpub watch-only)
- CUSTODIAL. A managed wallet provider, not an exchange
- BANK. A traditional bank account or credit card
This is mostly informational. It affects how the wallet is grouped on some reports.
Currency (required)
The currency the wallet holds. Pick from the supported list (BTC, USD, EUR, GBP, CAD, etc.).
This is permanent. You can't change a wallet's currency later. If you need a different currency, archive this wallet and create a new one.
Institution (optional)
Who hosts or issues the wallet. "Blink," "Chase," "Trezor," "Self-custody," etc. Helpful when you have many similar wallets and need to distinguish them.
Issuer (optional)
For wallets where currency-issuer matters (rare, mostly for stablecoins or bank notes from specific issuers). Most users leave this blank.
Opening balance (optional)
How much was in this wallet when you started tracking. If empty, BitBooks treats the wallet as starting at zero.
For an existing wallet that already has money in it, set the opening balance to whatever was in it on your start date.
Start date (required when opening balance is set)
The date the opening balance was true. Today is the default if you're starting fresh.
If you're back-tracking history, pick a date in the past. BitBooks will record the opening balance journal entry on that date, and you can then enter transactions starting from there.
Currency label and symbol (optional)
Display labels for the currency, used for non-standard currencies (private bonds, vouchers, tokens). For BTC, USD, and other major currencies, leave these blank; the standard symbols are used automatically.
What happens after you save
BitBooks creates:
- The wallet itself in the Wallets list
- A corresponding account in your Chart of Accounts (Asset type, WALLETS sub-type)
- An opening balance journal entry dated on the Start Date (if you set an opening balance)
You can immediately start posting transactions to this wallet.
Recording transactions on a manual wallet
Same as any other wallet:
- Click Transactions → New Transaction
- Pick this wallet
- Fill in the rest as usual
See Creating a Transaction (Simple Mode).
The only difference: there's no auto-sync running in the background. You enter every transaction yourself, or import a batch via CSV.
Importing transactions from a bank statement
If your bank or wallet provider gives you a CSV export, you can bulk-import:
- Go to the wallet's detail page
- Click Import Transactions
- Upload the CSV
- Map columns (BitBooks tries to guess)
- Review the staged entries
- Commit
The imported transactions land as Drafts. Review and post.
See Importing Bank Statements for the full walkthrough.
Editing a manual wallet
Open the wallet, click Edit:
- Name: changeable any time
- Type: changeable any time
- Institution / Issuer: changeable any time
- Opening balance and start date: changeable, but think twice. Changing them re-issues the opening journal entry, which may shift past balances.
- Currency: NOT changeable. If you need a different currency, archive and recreate.
Connecting a manual wallet later
If you start manual and later realize the wallet has a connector available, you can switch:
- Go to Admin → Connectors → Add Connection
- Pick the provider
- In the review step, choose Attach to existing wallet (not Create new)
- Pick this wallet
The connection links to your existing wallet. Future transactions auto-import. Past manual transactions stay exactly as you entered them.
See Connecting Your Bitcoin Wallet for the full connection flow.
Common questions
"What if I don't know my opening balance?"
You can leave it blank and treat the wallet as starting at zero. Then enter all transactions from the wallet's history. The running balance will reflect everything you entered.
This is more work than just setting an opening balance. But if you don't have a clean opening number, it's the only way.
"My wallet is in a currency BitBooks doesn't list."
Common currencies are built in. For exotic ones, contact support to add it. Or, as a workaround, pick a similar major currency and use Currency Label/Symbol to override the display.
"Can I have a manual wallet for a Bitcoin wallet I'm too lazy to connect?"
Yes. Manual wallets work for any currency including BTC. You just enter transactions by hand. If the wallet is high-volume, you'll wish you connected it. If it's low-volume (cold storage, rarely-used reserve), manual is fine.
Where to go next
- What is a Wallet in BitBooks? for the overall concept
- Connecting Your Bitcoin Wallet for auto-sync setup
- Wallet Types for the type-by-type breakdown
- Importing Bank Statements for CSV import
- Setting Spending Limits per Wallet for safety controls