What gets imported
The QuickBooks importer brings over your existing contacts as part of a broader migration. Specifically:
- Customer list: every customer record with name, email, phone, address
- Vendor list: every vendor record with the same fields
- Employee list: if you tracked employees in QuickBooks, they come over too
Contacts in BitBooks have the same fields as the corresponding QuickBooks lists, so the mapping is direct.
What doesn't import
A few things don't translate cleanly:
- Custom fields. QuickBooks lets you create custom fields per customer (e.g., "Customer Tier" or "Internal ID"). BitBooks doesn't have customer-side custom fields yet. The data isn't lost; you can put it in the Memo field per contact, but you'd do this manually.
- Notes attached to contacts. QuickBooks has free-text notes; BitBooks contacts have an internal description. Long notes might get truncated or formatted differently.
- Subaccount or sub-customer hierarchies. QuickBooks supports nesting customers under parent accounts. BitBooks contacts are flat. Hierarchies don't preserve.
For most small businesses, none of these are deal-breakers. You'll have your customer and vendor lists in BitBooks with the essentials.
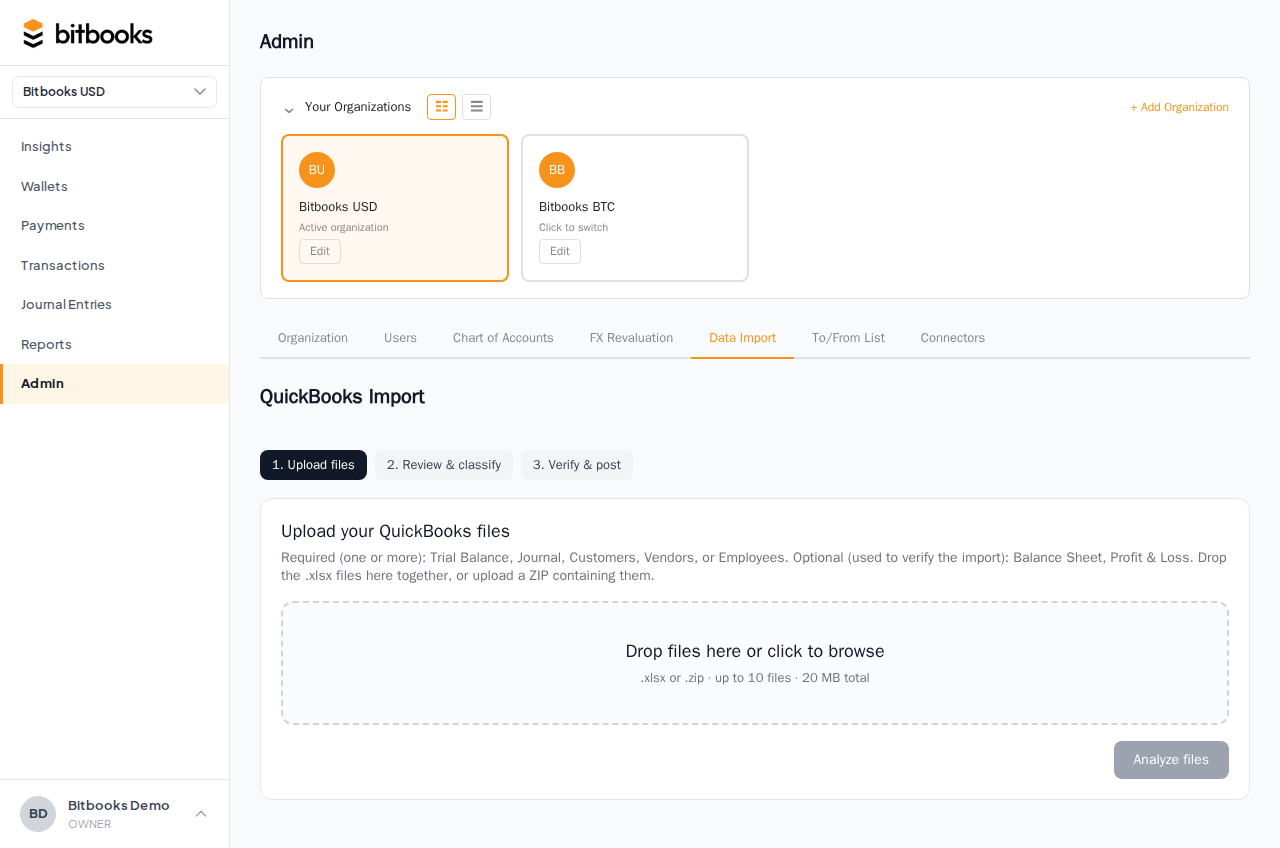
How to start the import
- Admin → Imports (or look for "Import from QuickBooks" in the admin section)
- Click Start Import
- Pick the source: QuickBooks Online or QuickBooks Desktop
- Follow the prompts (file upload for Desktop, OAuth for Online)
- Review the staged data
- Commit
QuickBooks Online (OAuth)
For QuickBooks Online, BitBooks connects via OAuth:
- Click Connect to QuickBooks Online
- Sign in to your QuickBooks account in the popup
- Grant BitBooks permission to read your data
- The popup closes
- BitBooks downloads your customer, vendor, and employee lists in the background
For more on what permissions BitBooks asks for, see the QB Online docs the popup links to.
QuickBooks Desktop (file export)
For QuickBooks Desktop, you export your data and upload:
- In QuickBooks Desktop: File → Utilities → Export → Lists to IIF or generate an Excel export of your customer/vendor lists
- In BitBooks: pick QuickBooks Desktop, upload the IIF/Excel file
- BitBooks parses and stages
The exact export format varies by QuickBooks Desktop version. If your file isn't accepted, check the file format documentation or contact support with the file in hand.
Reviewing the staged data
After upload (or OAuth fetch), BitBooks shows you the contacts that would be created:
- Customers: N records
- Vendors: N records
- Employees: N records
You can:
- Review a sample. Spot-check a few contacts for accuracy.
- Drop duplicates. If a contact already exists in BitBooks (from prior partial migration or manual creation), the importer flags potential duplicates and lets you skip them.
- Adjust kind. Most contacts come over with the right kind (Customer, Vendor, Employee). For odd cases, you can override before import.

When the staged data looks right, click Commit Import.
After committing
BitBooks creates the contacts in your organization. You'll see them in Admin → Contacts immediately.
Future transactions can reference them via the Contact field. Past transactions (if you also imported transactions) get linked to contacts during the transaction-import phase.
Re-running the import
If you partially migrated (just contacts, not transactions yet) and want to redo, re-running the import:
- Compares against existing contacts (by name + kind)
- Skips duplicates
- Adds any new contacts that have appeared at QB since the last import
You can re-run safely without creating duplicates. The dedupe logic uses name + kind as the key.
What to do after the contact import
Common next steps:
- Review the imported contacts for accuracy. Spot-check a few names, emails, addresses.
- Set up generic contacts for catch-all use (e.g., "Cash Customer," "Misc Vendor") if you don't already have them.
- Archive any imported contacts you don't need (defunct vendors, lost customers).
- Import transactions as a separate step if you haven't yet. Past transactions reference contacts; that's why contact import comes first.
For the broader QuickBooks migration, see BitBooks vs QuickBooks.
Common questions
"My QuickBooks has 1,500 customers. Will the import handle that?"
Yes. Up to several thousand contacts works fine. Beyond that, performance gets slower; talk to support if you have an unusually large list.
"My contact names have special characters (accented letters, etc.). Will they import correctly?"
Yes. UTF-8 throughout. Accents, non-Latin characters, all preserved.
"Some QuickBooks customers have hundreds of fields filled in (custom fields, notes, sub-customers). Do I lose all that?"
Custom fields and sub-customer hierarchies don't import. Notes go into a description field if it fits. The core fields (name, email, phone, address) preserve. For the lost data, you'd manually copy what matters into BitBooks fields.
"Can I import contacts without importing transactions?"
Yes. Contacts are a separate step. You can import contacts now and import transactions later, or never (if you want to start fresh on transactions).
Where to go next
- Adding and Managing Contacts for the manual create/edit flow
- Customers, Vendors, Employees, Other for the kind distinctions
- BitBooks vs QuickBooks for the broader migration story
- Linking Contacts to Transactions for using contacts after import