What an "organization" is in BitBooks
In BitBooks, an organization is one set of books. One business. One legal entity.
If you run one company, you have one organization. If you run two separate companies, or if you do bookkeeping for several clients, you have one organization per business. Each organization keeps its own wallets, contacts, transactions, journal entries, and reports. Nothing crosses between them.
You can switch between organizations using the dropdown at the top of the left sidebar.
Before you start
Have these handy:
- Business name as you want it to appear on reports
- Functional currency (the main currency you'll do business in: USD, EUR, CAD, BTC, etc.)
- Whether you'll also want a secondary reporting currency (optional, e.g., a Canadian business that reports to a US parent in USD)
- Your accounting framework: IFRS, US GAAP, or "I report under both." If you don't know, IFRS is the worldwide default and a safe pick. You can change this later.
- Calendar year vs fiscal year: most small businesses use calendar (Jan to Dec). If your tax year ends on a different month, you'll pick fiscal.
If you're unsure about any of these, you can pick a sensible default now and refine later from Admin → Settings.
Step 1. Create the organization
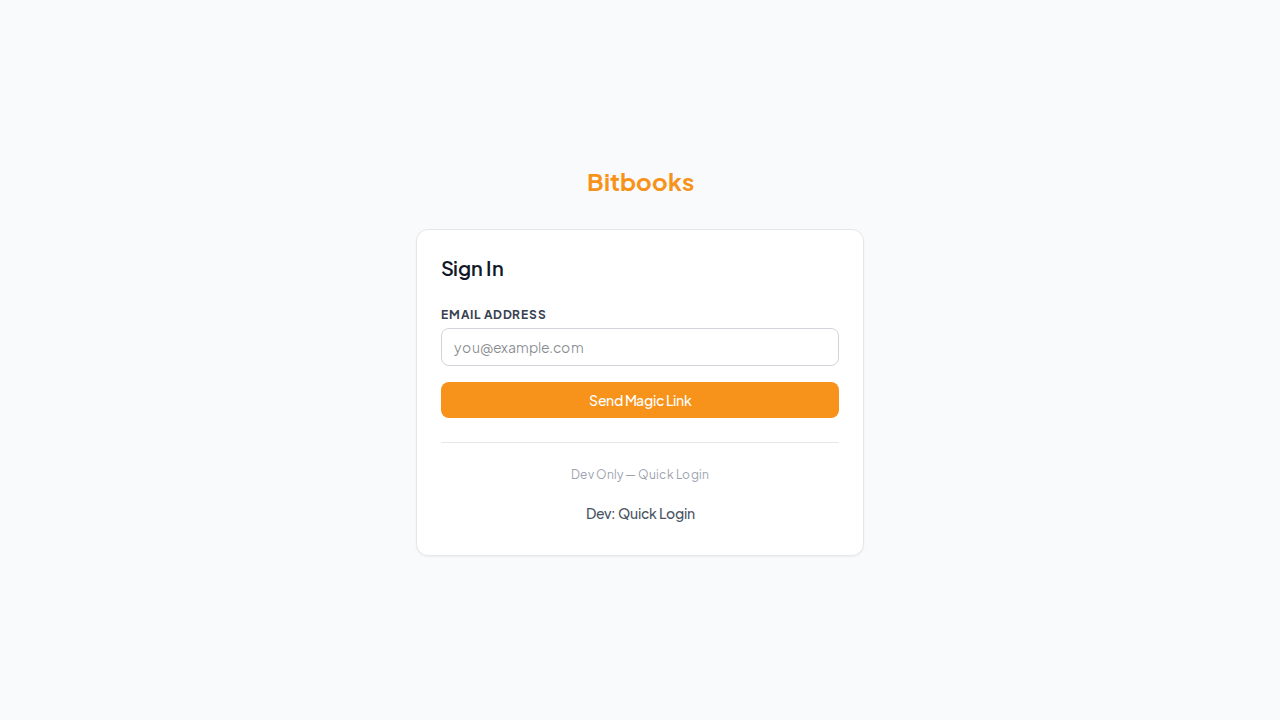
When you sign in for the first time, BitBooks walks you through a short setup wizard. The first screen asks for the basics:
- Organization name (e.g., "Acme Coffee Roasters Inc.")
- Functional currency. This is the currency your books are kept in. Almost always your home country's currency (USD for US, CAD for Canada, etc.) unless you specifically operate as a Bitcoin treasury, in which case pick BTC.
- Secondary reporting currency (optional). Useful if reports need to display in a second currency for stakeholders. Leave blank if not needed.
Click Continue when these are filled in.
If you've already finished the wizard and want to add a second organization later, go to Admin → Organizations and click Add Organization.
Step 2. Pick your accounting framework
You'll see three options:
- IFRS (International Financial Reporting Standards). The default for most countries outside the US. Pick this if you're outside the US, or if you don't have a strong opinion.
- US GAAP. The standard inside the US. Pick this if you're a US business and your accountant uses GAAP.
- IFRS and US GAAP (both). Pick this if you produce reports under both frameworks (rare, mostly large multinationals).
The framework affects how some calculations are presented in reports, especially around Bitcoin value changes. Most users stay with the default (IFRS) and never need to change it.
Step 3. Set your accounting year
Two choices:
- Calendar year (January 1 to December 31). The default. Most small businesses.
- Fiscal year (any 12-month period that doesn't start in January). Common for businesses whose natural cycle doesn't match the calendar. If you pick this, you'll pick the start month and end month.
If you're not sure, pick calendar. You can change it later but doing so mid-year is more complicated than just picking right the first time.
Step 4. Localization preferences
A few formatting choices:
| Setting | Options | Notes |
|---|---|---|
| Date format | MM-DD-YYYY (US) / DD-MM-YYYY (most of the world) / YYYY-MM-DD (ISO) | Pick what your team reads naturally |
| Time format | 12-hour or 24-hour | |
| Number format | US Standard (1,234.56) or European (1.234,56) | Affects how amounts display |
| Time zone | Your business's local time zone | Used for timestamps on entries |
These are all changeable later from Admin → Settings.
Step 5. Bitcoin display preference
BitBooks shows BTC amounts four different ways. Pick one:
- BTC High Precision (BTC 0.00050000)
- BTC Consequence (BTC 0.00050 000) ← default
- Bitcoins (0.0005 Bitcoin)
- Satoshis (50,000 sats)
If you're new to Bitcoin or your team is mixed, leave the default. See BTC Display Modes for the full breakdown of when to use each.
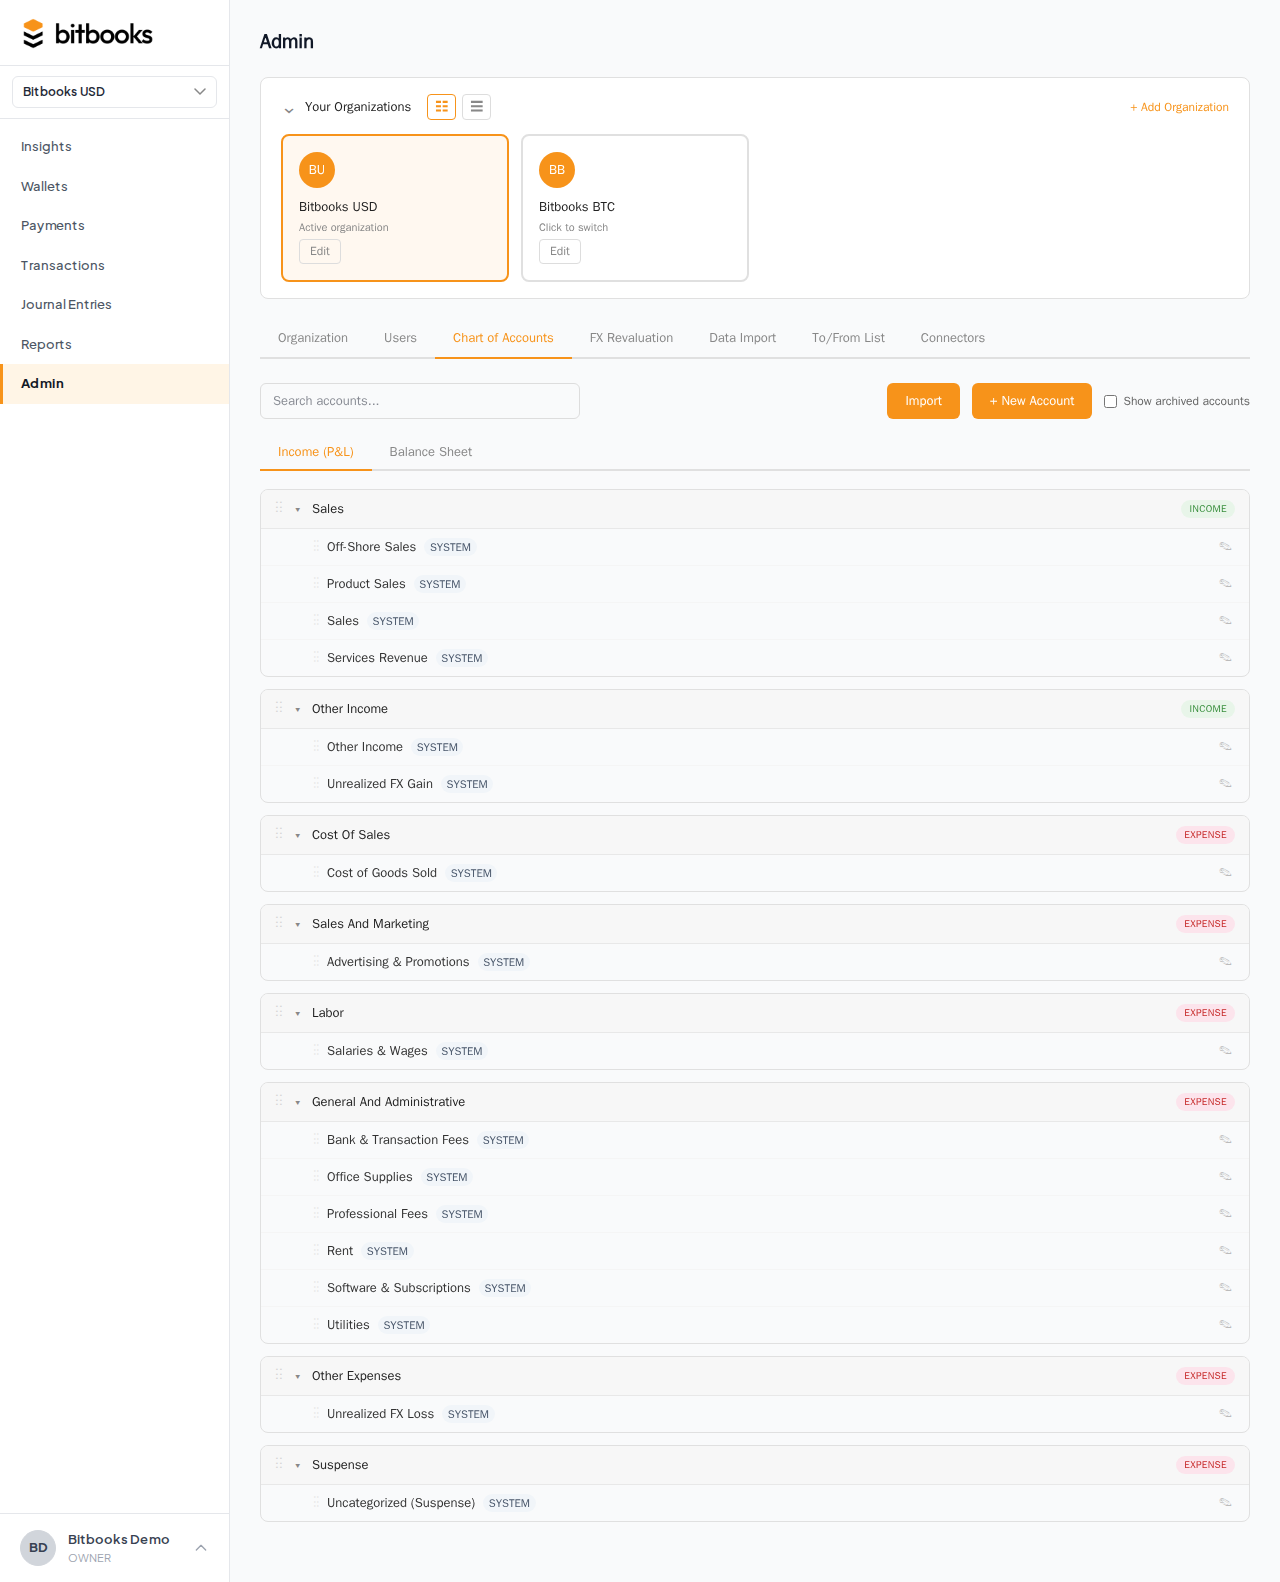
Step 6. The chart of accounts is created for you
Behind the scenes, BitBooks creates a default chart of accounts (about 40 accounts) covering all the standard categories: cash, accounts receivable, fixed assets, accounts payable, equity, sales, cost of goods sold, marketing, labor, general and administrative, etc. These are the same categories any QuickBooks or Xero user would expect.
You don't need to do anything for this. The accounts appear automatically.
You can review them at Admin → Chart of Accounts, and add custom accounts there if your business has unusual categories (a coffee shop might want a separate "Coffee Beans" account under Cost of Goods Sold, for example).
Step 7. (Optional) Connect your first wallet
You're done with the basic setup. From here, the most useful next step for most Bitcoin businesses is connecting a wallet so transactions start flowing in automatically.
Go to Admin → Connectors → Add Connection and follow the prompts. The full walkthrough lives at Connecting Your Bitcoin Wallet.
If you'd rather start by entering a few transactions by hand to see how BitBooks works, skip this step. You can always connect later.
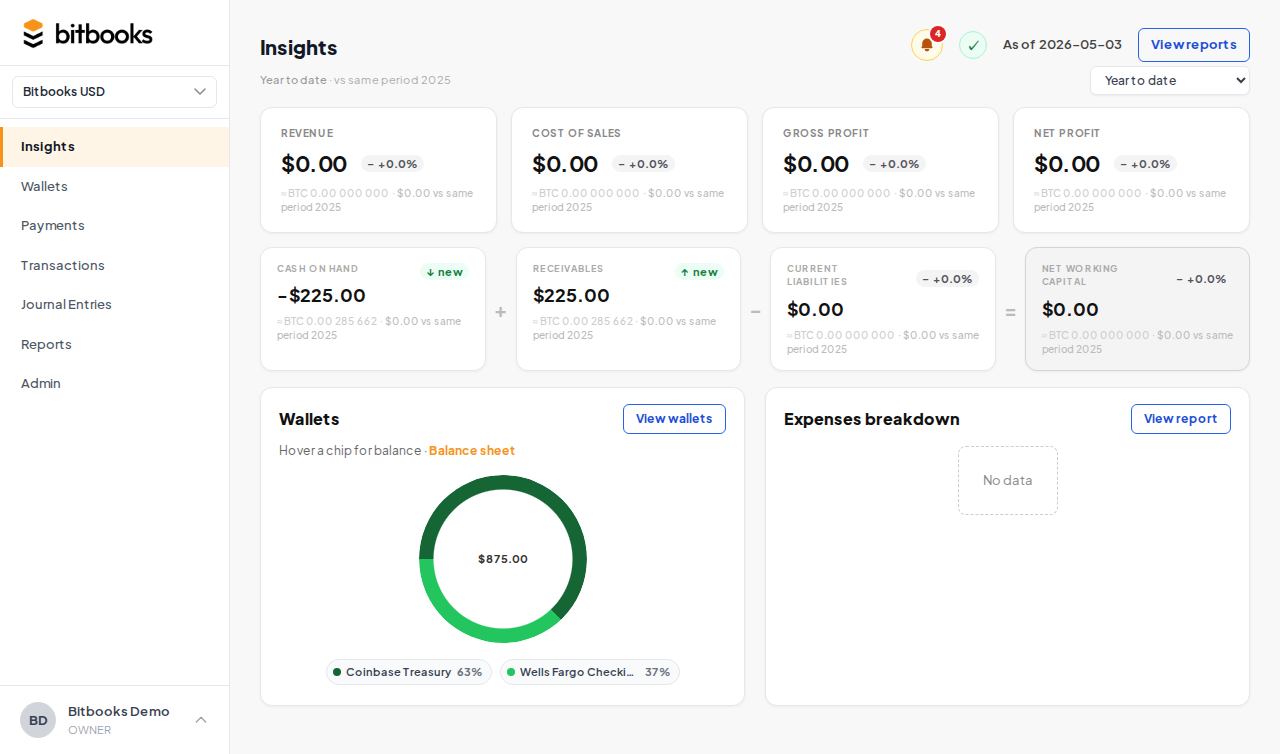
What you'll see when setup is done
You'll land on the Insights page (the dashboard). Until you have transactions, BitBooks shows you a sample preview so the page isn't blank. You'll see KPIs (revenue, expenses, profit), a working capital row, a wallet snapshot, and an expense breakdown chart, all populated with example numbers.
The "Sample Future Insights" banner tells you these are illustrative numbers. As soon as you record real transactions or connect a wallet, the sample data disappears and you see your real numbers.
Common questions
"Can I use BitBooks just for personal Bitcoin without a real business?"
Yes. Set up an organization called "Personal" or your name. Pick your home currency. Connect your wallets. You won't use the contacts or payment-requests features much, but the wallets, transactions, reports, and Bitcoin gain/loss tracking all work fine for personal use.
"What if I make a mistake during setup?"
Almost everything is changeable from Admin → Settings. The one decision that's harder to change later is the functional currency if you've already entered transactions. BitBooks won't stop you from changing it, but it requires an audit reason and an effective date because it has knock-on effects on historical reports.
"Can I delete an organization?"
Yes, from Admin → Organizations. Be careful: deletion is permanent and removes all wallets, transactions, journal entries, and reports for that organization. Always export your data first if you might need it.
"I have multiple businesses. Should they be one organization or many?"
Many. One organization per legal entity. Don't try to mix two companies' finances in one organization, even if they're related. Your accountant and the tax authorities will thank you.
Where to go next
- Connecting Your Bitcoin Wallet for auto-import setup
- Inviting Team Members to add your bookkeeper or accountant
- The Three-Currency Model Explained if you're working in multiple currencies
- Understanding Your Insights Page for what you see on the dashboard