What templates are
Most businesses post the same shapes of transactions over and over:
- A coffee sale
- A vendor payment
- A bank transfer
- A Bitcoin purchase
- A monthly subscription expense
Instead of filling in the same form fields each time, BitBooks gives you transaction templates. Pick a template, fill in the variables (amount, date, contact), save. The categorization, accounts, and structure are pre-set.
The 10 default templates
BitBooks ships with 10 templates covering the most common Bitcoin business operations:
| # | Template | What it does |
|---|---|---|
| 1 | Sale | Customer paid you (cash or BTC). Money in, recorded as Sales income. |
| 2 | Expense | You paid a vendor. Money out, recorded against an expense category. |
| 3 | Payment Received | A customer paid an outstanding invoice. Money in, reduces Accounts Receivable. |
| 4 | Payment Made | You paid an outstanding bill. Money out, reduces Accounts Payable. |
| 5 | BTC Purchase | You bought Bitcoin. Fiat out of one wallet, BTC into another. |
| 6 | BTC Sale | You sold Bitcoin. BTC out, fiat in. |
| 7 | Manual Journal Entry | Custom entry for adjustments, depreciation, etc. (Advanced Mode.) |
| 8 | Wallet-to-Wallet Transfer | Moving money between two of your own wallets. |
| 9 | Lightning Receive | Customer paid via Lightning. Sats in, recorded as Sales. |
| 10 | Lightning Send | You paid a vendor via Lightning. Sats out, recorded as Expense. |
The first 6 cover ~80% of all transactions for a typical Bitcoin business.
How to use a template
When you click New Transaction, the modal opens in a default mode. You can pick a template from the type/template selector at the top.
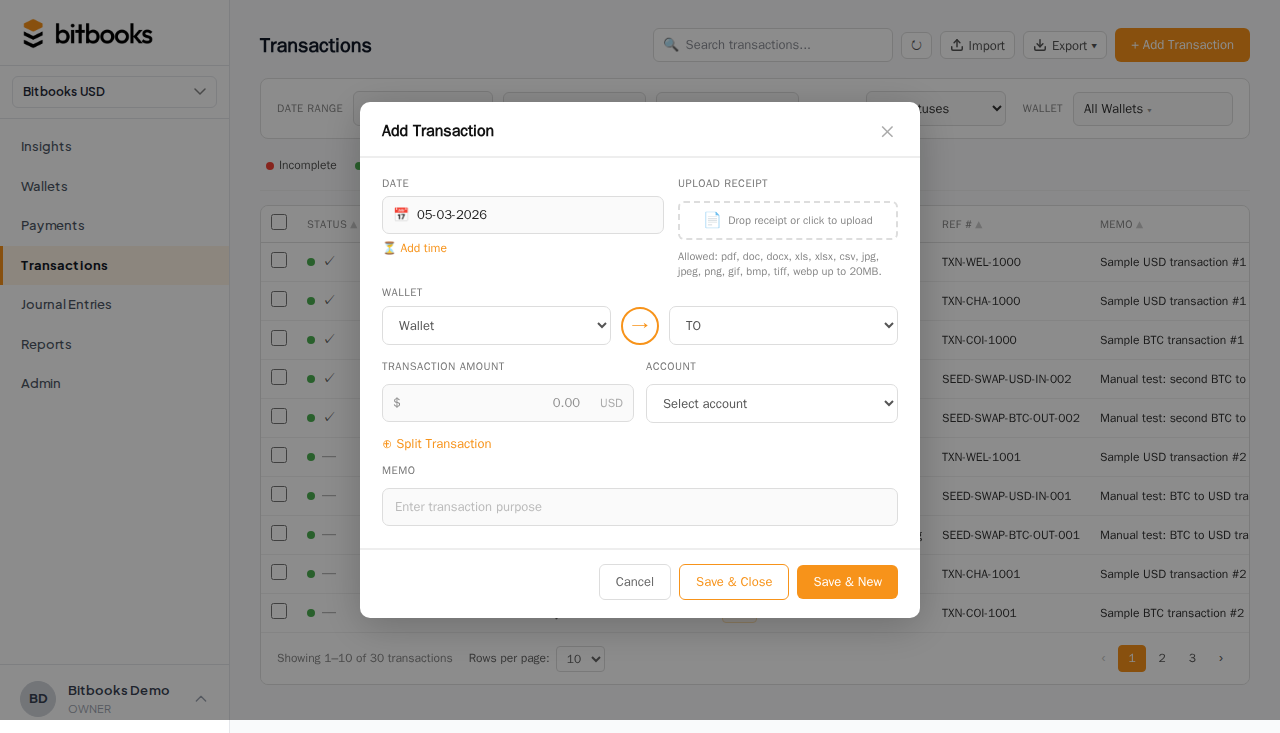
Pick one. The form pre-fills:
- The transaction mode (Standard, Split, Transfer)
- The default category for that template
- The default direction (in or out)
- Any specific helper fields
You then fill in the variable parts (amount, contact, exact category if it differs, date, memo) and save.
Templates speed up data entry. The form fields you'd otherwise pick from dropdowns are pre-selected.
Template details
Sale
- Mode: Standard
- Direction: Money in
- Default category: Sales
- Wallet: pick at entry time
- Use for: customer payments for products or services
Expense
- Mode: Standard
- Direction: Money out
- Default category: Other Expenses (you'll usually change to specific)
- Wallet: pick at entry time
- Use for: paying vendors, buying supplies, software subscriptions
Payment Received
- Mode: Standard
- Direction: Money in
- Default category: Accounts Receivable (a contra-credit, reducing receivables)
- Use for: when a customer pays an invoice you previously issued
Payment Made
- Mode: Standard
- Direction: Money out
- Default category: Accounts Payable (a debit, reducing payables)
- Use for: paying a vendor invoice you previously received
BTC Purchase
- Mode: Transfer
- From wallet: a fiat wallet
- To wallet: a BTC wallet
- Use for: buying Bitcoin
BTC Sale
- Mode: Transfer
- From wallet: a BTC wallet
- To wallet: a fiat wallet
- Use for: selling Bitcoin (note: realized gain/loss may need a separate entry, see Recording a Bitcoin Sale)
Manual Journal Entry
- Opens the Advanced Mode (Journal Entries) form
- Free-form: you write the debits and credits
- Use for: anything that doesn't fit Simple Mode (depreciation, accruals, equity events)
Wallet-to-Wallet Transfer
- Mode: Transfer
- Pick both wallets
- Use for: moving money between your own accounts (hot to cold, checking to savings)
Lightning Receive
- Mode: Standard
- Direction: Money in
- Default wallet: your primary Lightning wallet (configurable)
- Default category: Sales (often "Sales: Lightning")
- Use for: customers paying via Lightning
Lightning Send
- Mode: Standard
- Direction: Money out
- Default wallet: your primary Lightning wallet
- Default category: depends on what you bought
- Use for: paying vendors via Lightning
Customizing templates
The default categories and wallets in templates are based on common patterns. You can override at entry time (pick a different wallet, different category).
For deeper customization (changing defaults, adding new templates), this requires development. Reach out to support if you need a custom template for your business; we may build it as a config option.
When to skip the template
If your transaction is unusual enough that the template wouldn't help, just use New Transaction and pick the mode (Standard/Split/Transfer) directly. You're not required to use a template.
For very irregular entries (depreciation, equity events, multi-currency adjustments), use Manual Journal Entry which drops you into Advanced Mode.
Templates and Bulk Posting
After creating several Drafts using templates, you can bulk-post them all at once. Templates don't change the bulk-post behavior; they just streamline the creation step. See Bulk Posting Drafts.
Common questions
"Why do I need a Lightning template if Lightning Receive is just a Sale?"
It is just a Sale, but the template pre-selects the right wallet (your Lightning wallet), the right default category (Sales: Lightning if you have it, otherwise Sales), and saves clicks. For high-volume Lightning operations where you post 50+ Lightning sales per day, the template savings add up.
"Can I make my own templates?"
Not in the current UI. The 10 defaults are baked in. For custom templates, contact support.
"I always use the same contact for cash sales. Can I default that too?"
Templates don't currently default the contact. Workaround: when entering a sale, the contact dropdown remembers your most-recent contact, so it's one click to repeat.
Where to go next
- Creating a Transaction (Simple Mode) for the general entry flow
- Recording a Bitcoin Purchase for the BTC Purchase template in detail
- Recording a Bitcoin Sale for the BTC Sale template in detail
- Bulk Posting Drafts for batch processing many Drafts